Manage Bucket
1. Create a Bucket
To create a new S3 bucket in Vietnix Cloud, follow these steps:
- Log in to your Vietnix Portal account.
- Navigate to the S3 Storage section.
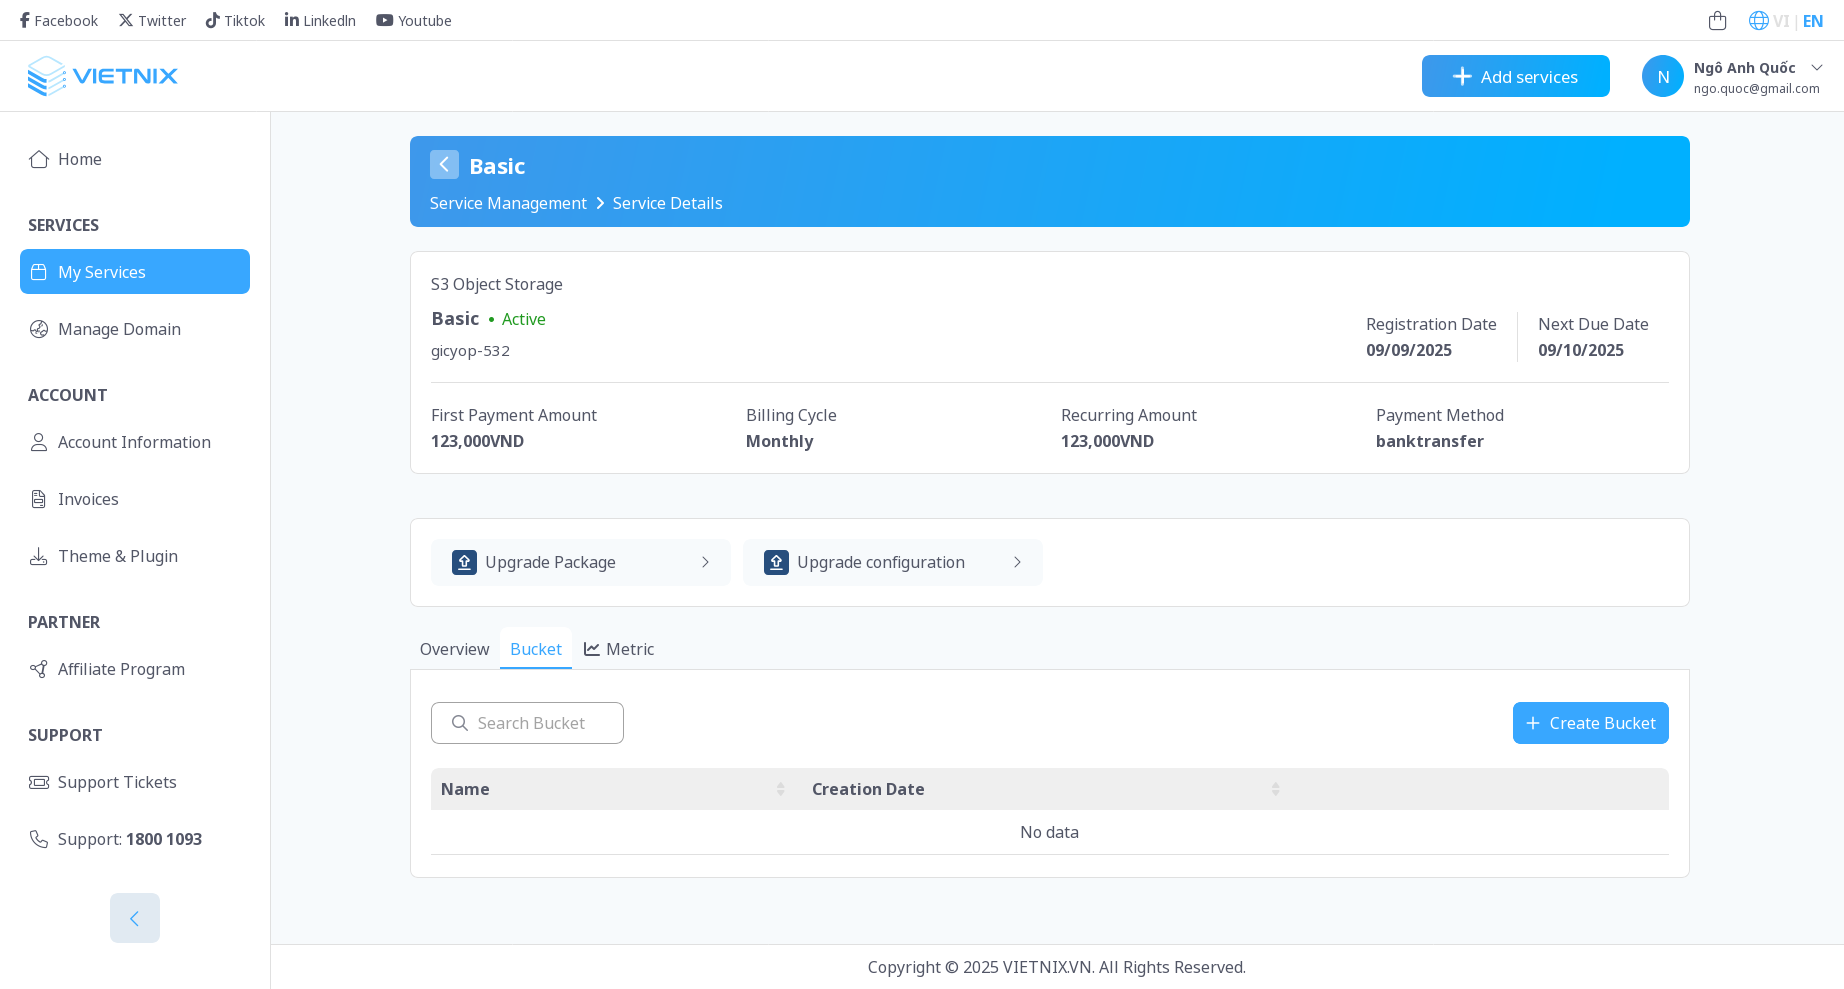
- Click on the "Create Bucket" button.
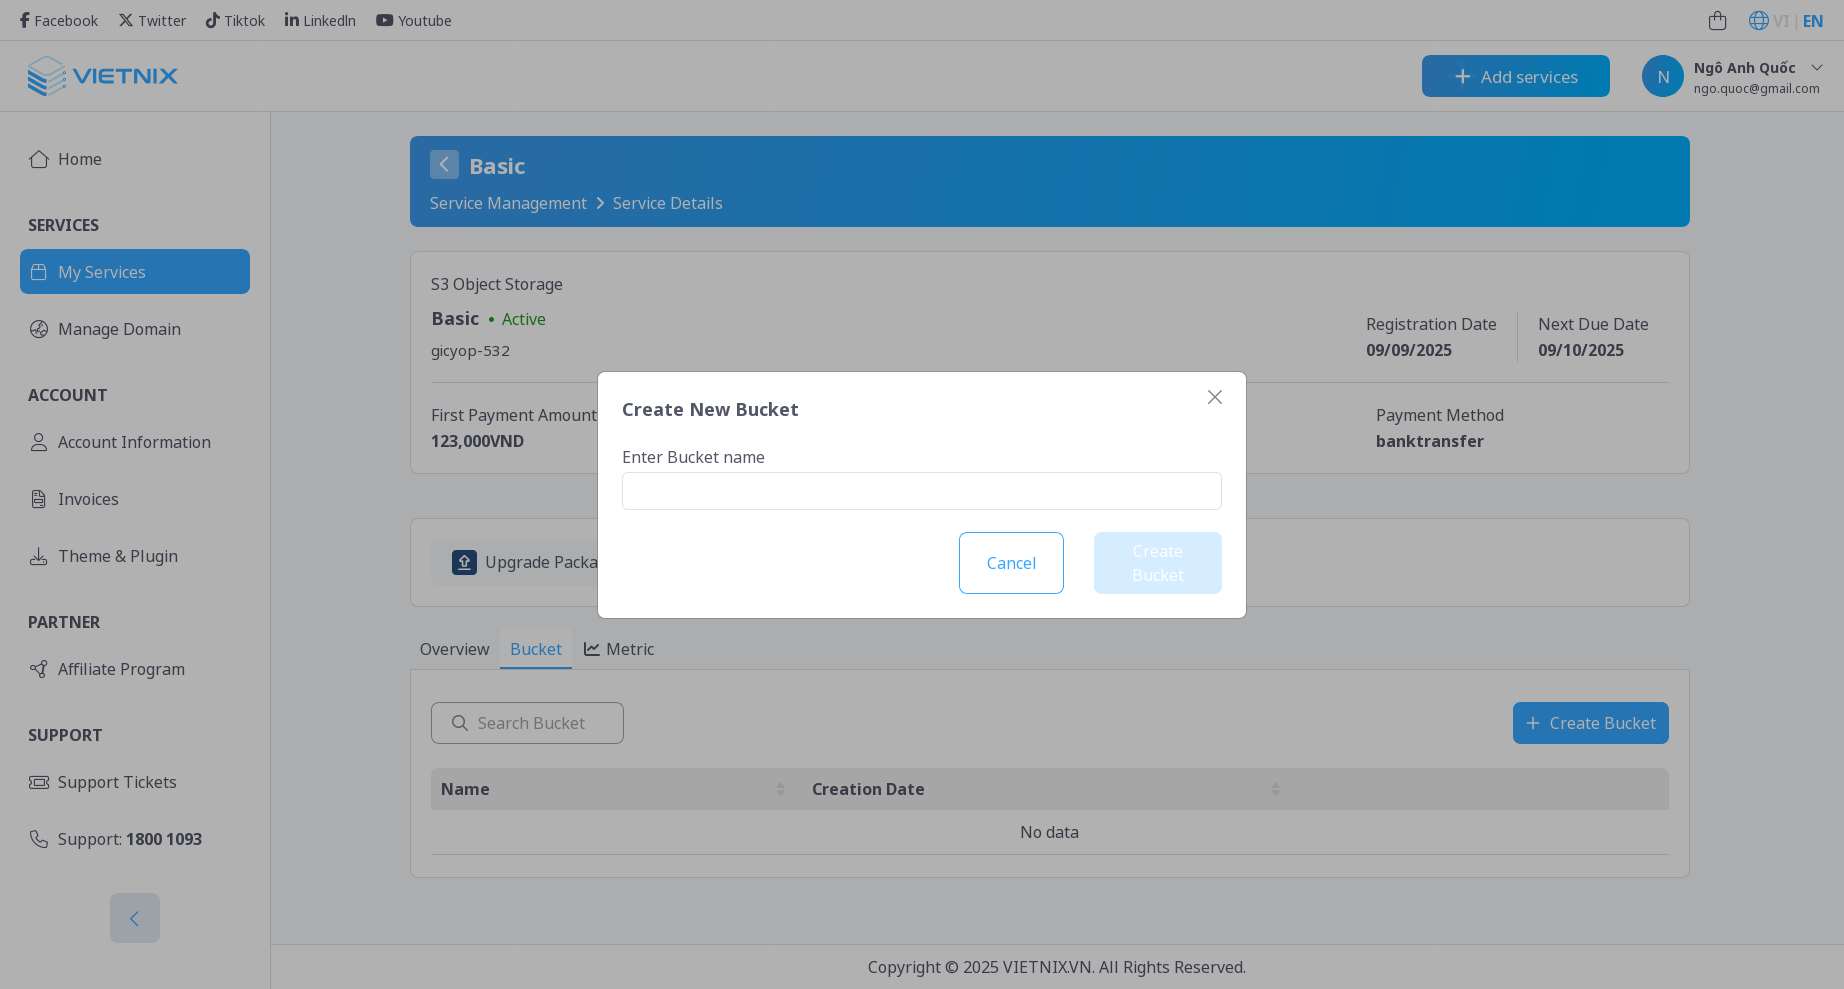
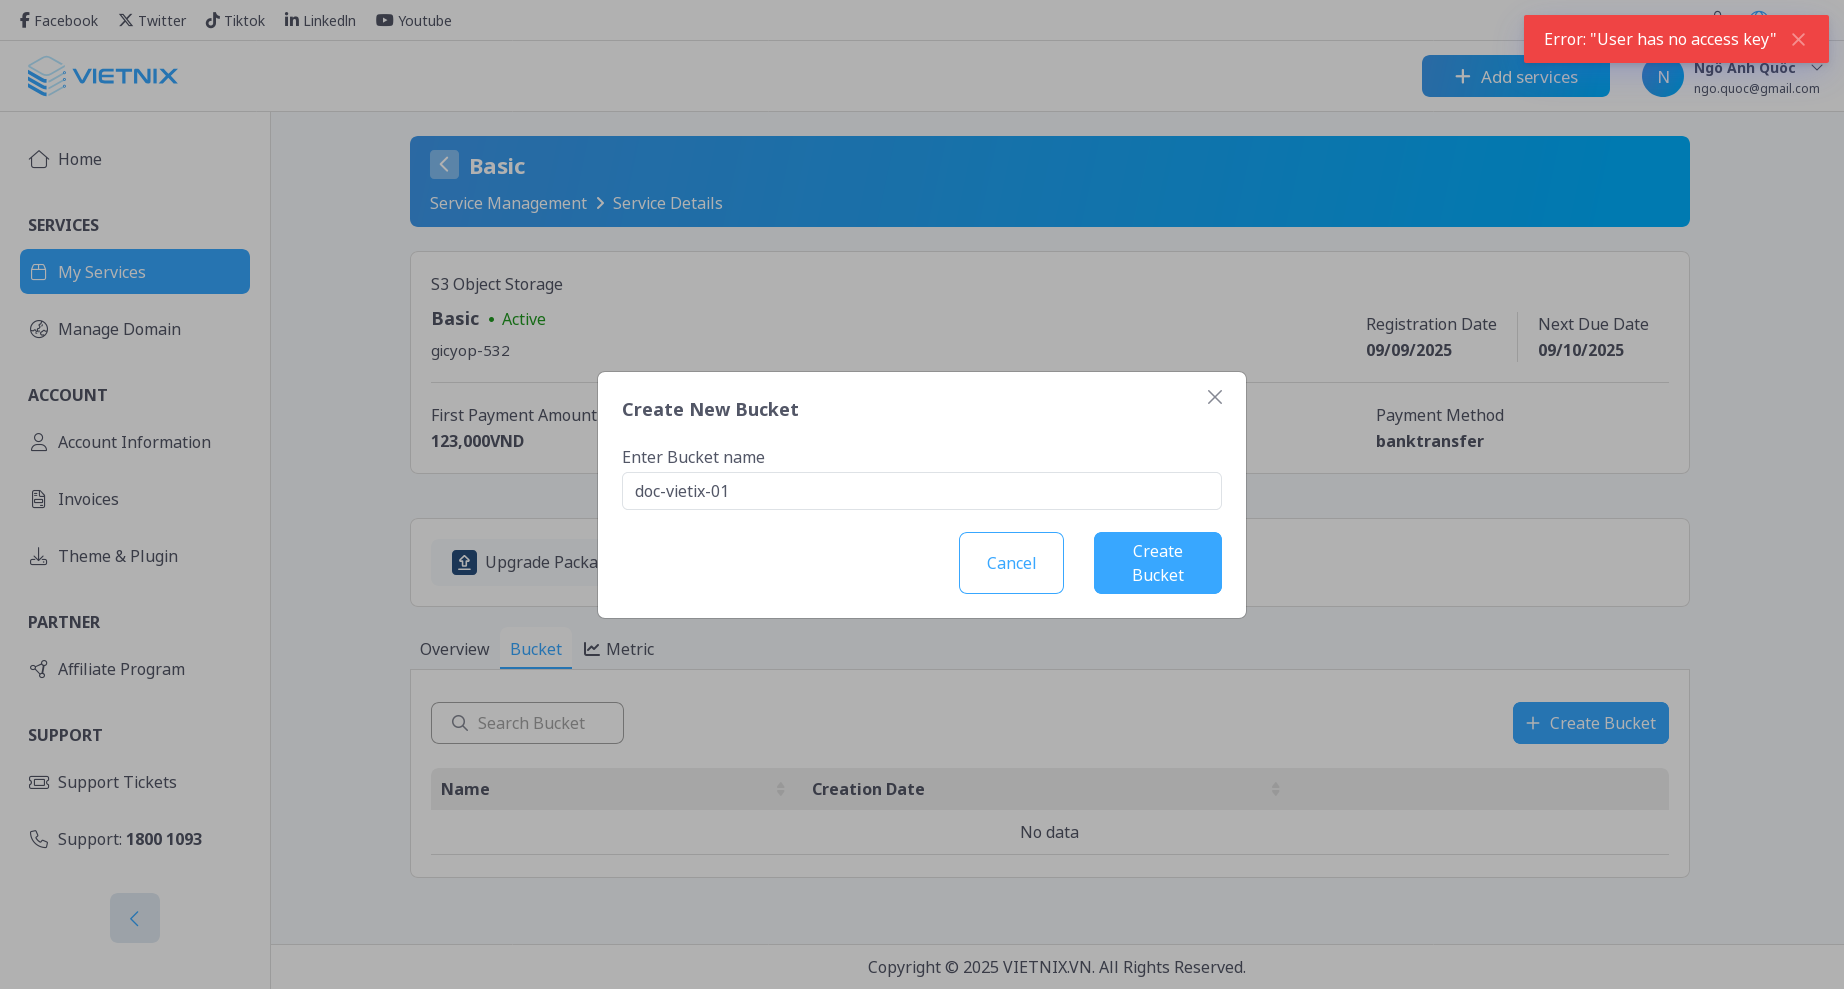
- Enter a unique name for your bucket and click Create Bucket
Bucket names must be globally unique across all users. If the name you choose is already taken, you will need to select a different name.
For detailed bucket naming rules, please refer to the General purpose bucket naming rules guide.

You must have at least one access key created to create a bucket. If you haven't created an access key yet, please refer to the Manage Access Key guide.
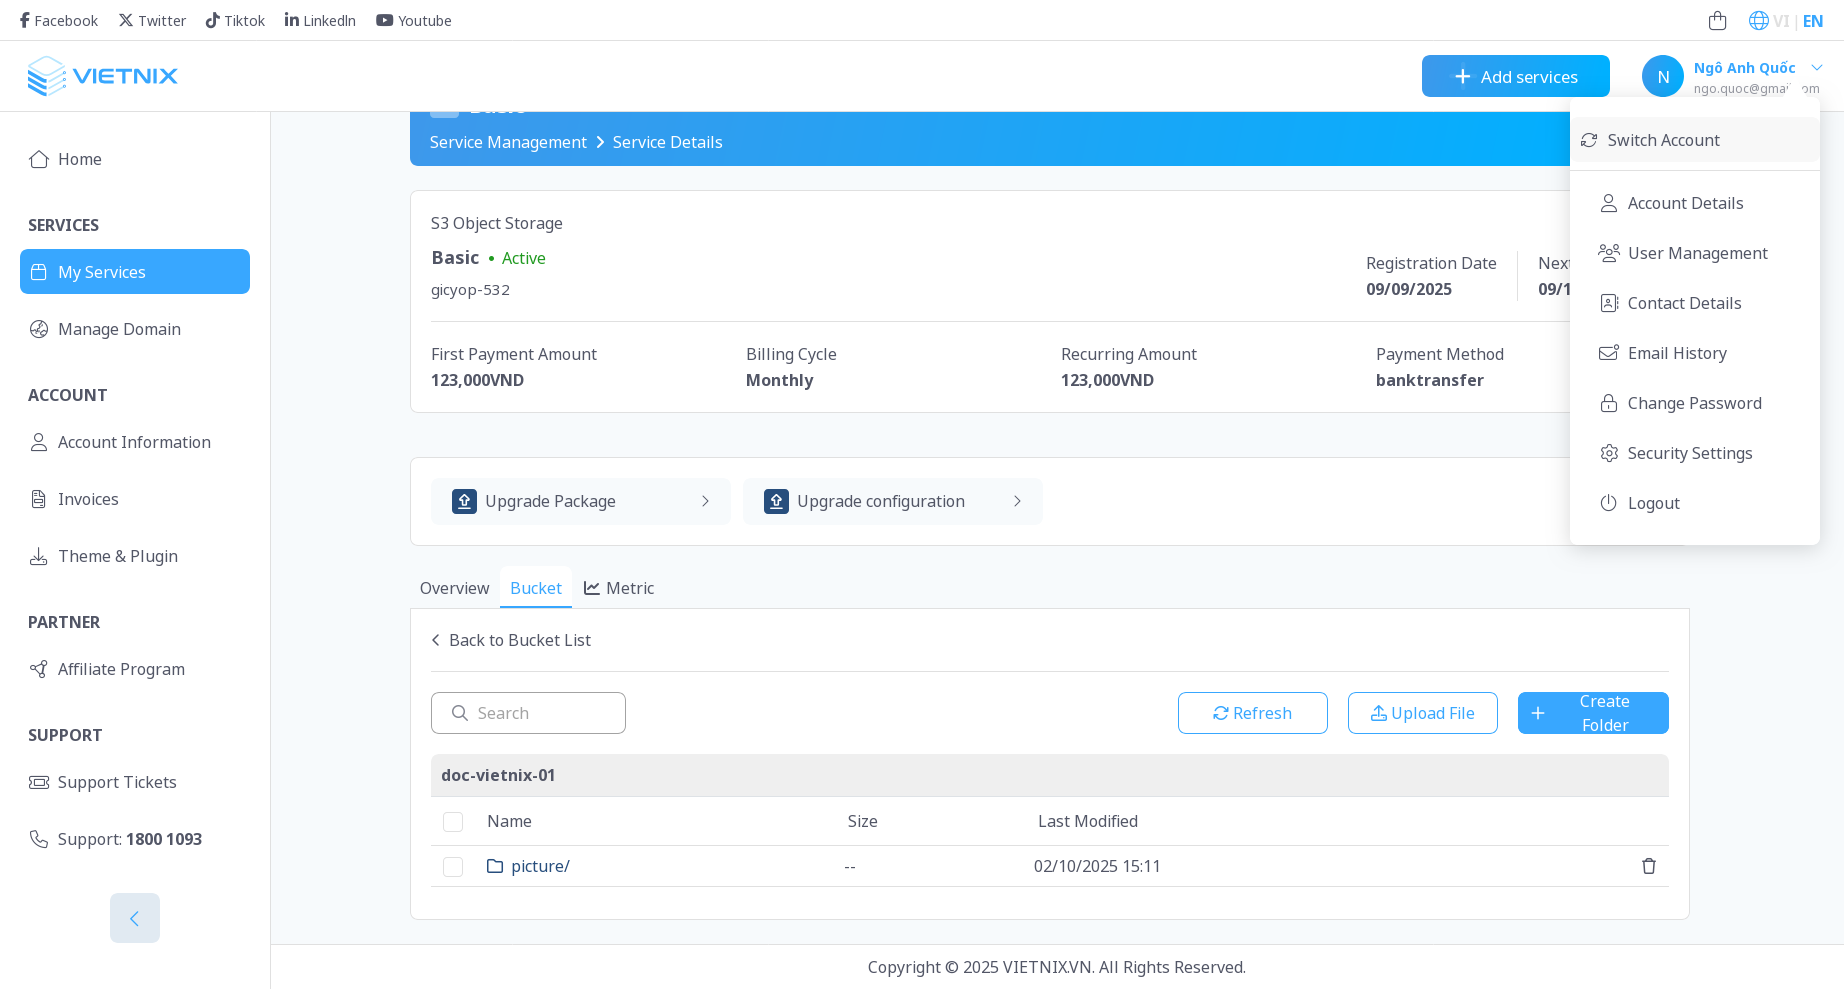
- Your new bucket will appear in the list of buckets.

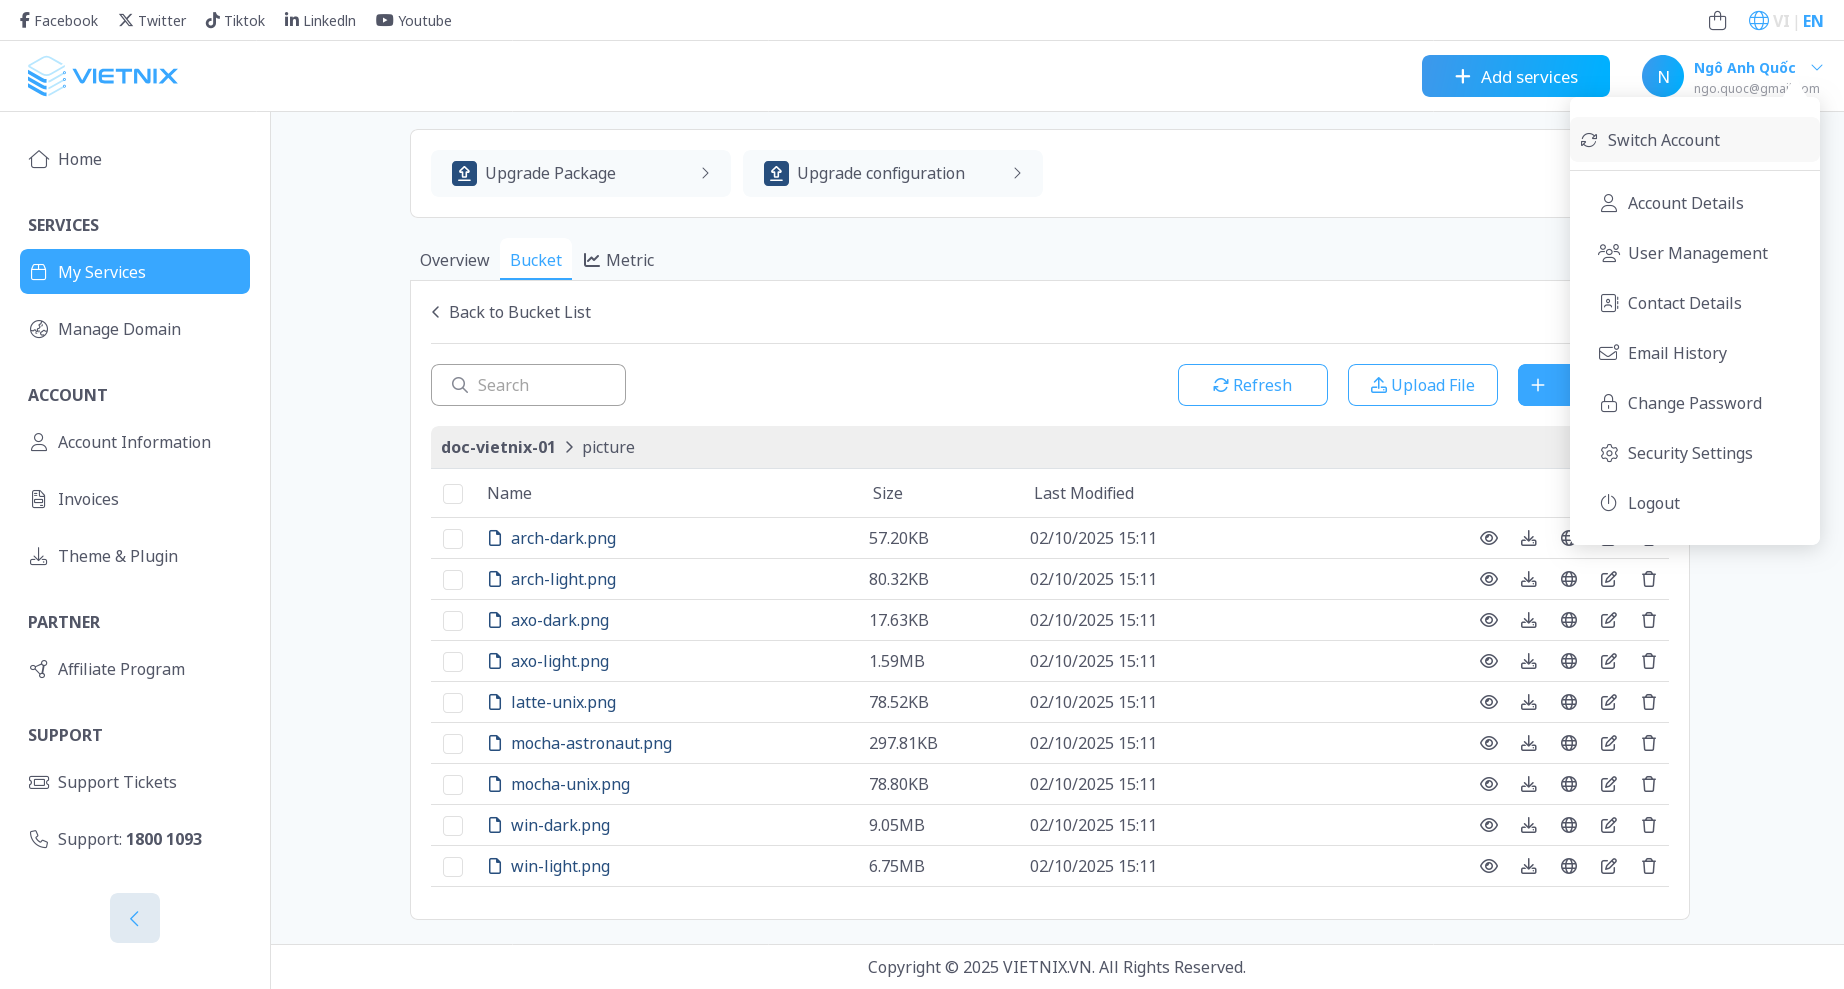
2. View Bucket Details
You can click on a bucket name to view its files and folders. You can also upload, download, delete, or manage permissions for individual objects within the bucket.
3. Manage Bucket ACL
Bucket ACL (Access Control List) allows you to set permissions for the entire bucket. You can choose from the following options:
- Private: Only the bucket owner has access.
- Public Read: Anyone can read objects in the bucket.
- Public Read Write: Anyone can read and write objects in the bucket.
To change the ACL of a bucket:
- Click on the change ACL button in the bucket page.
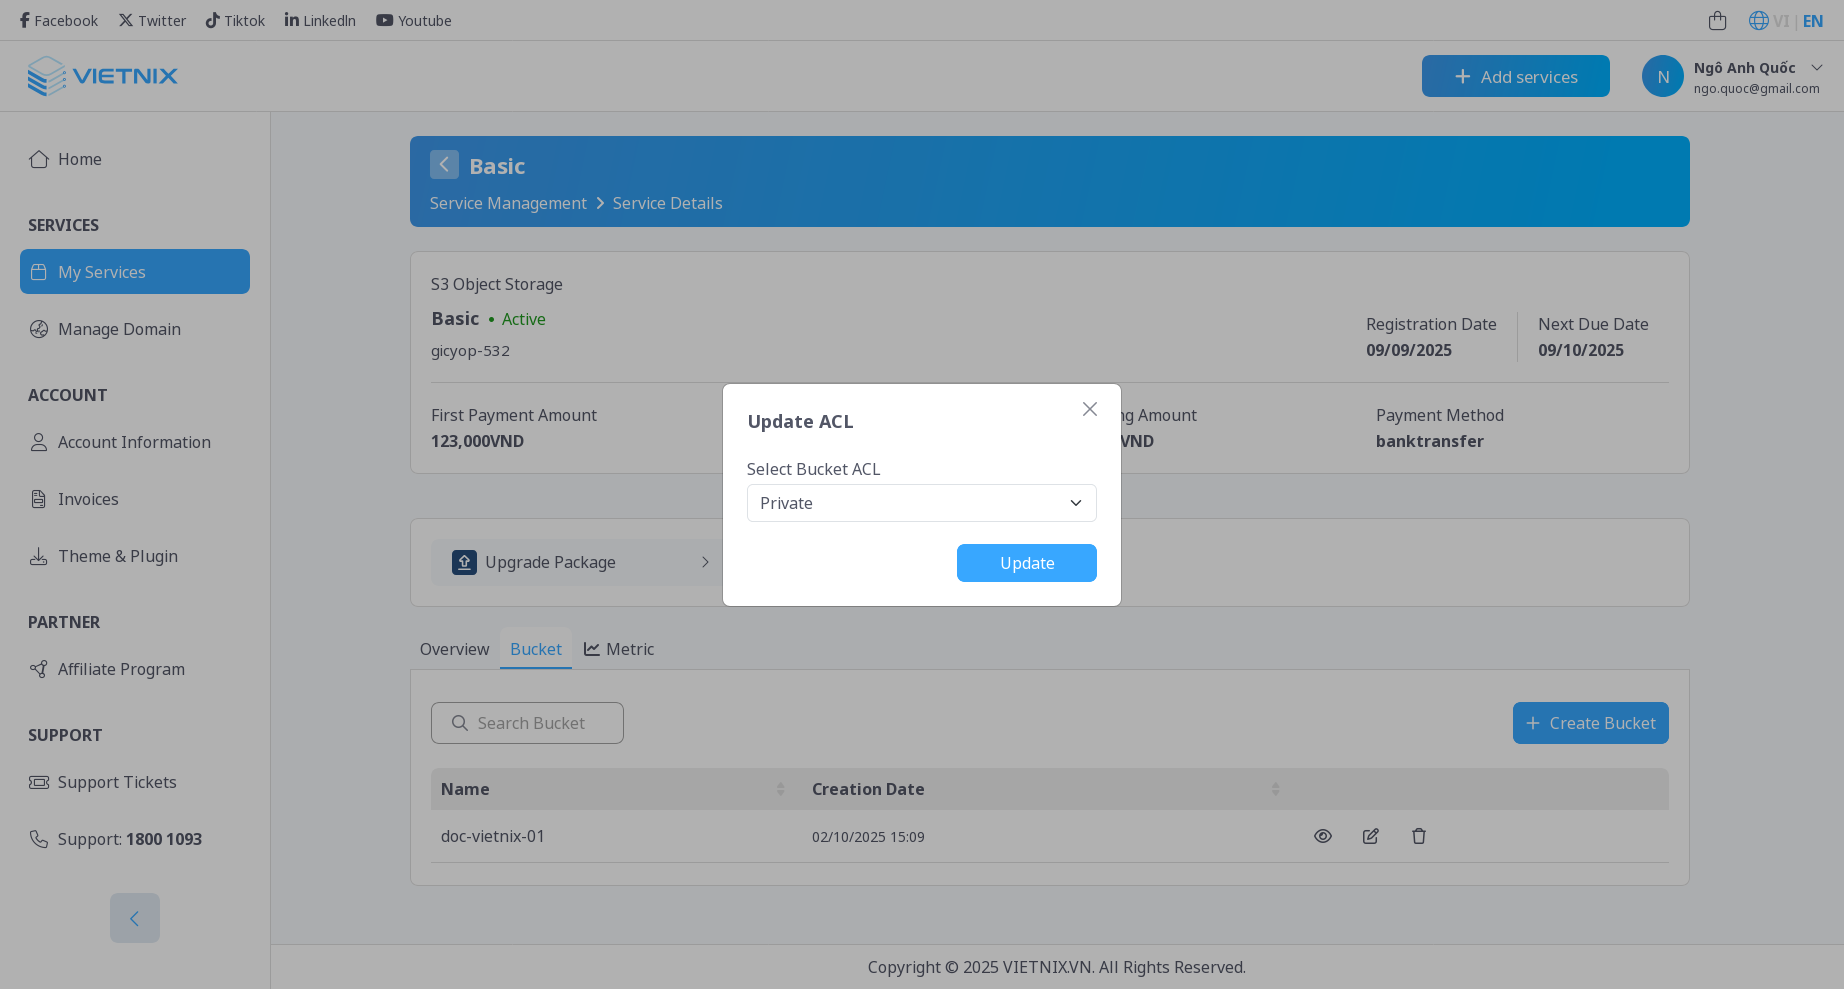
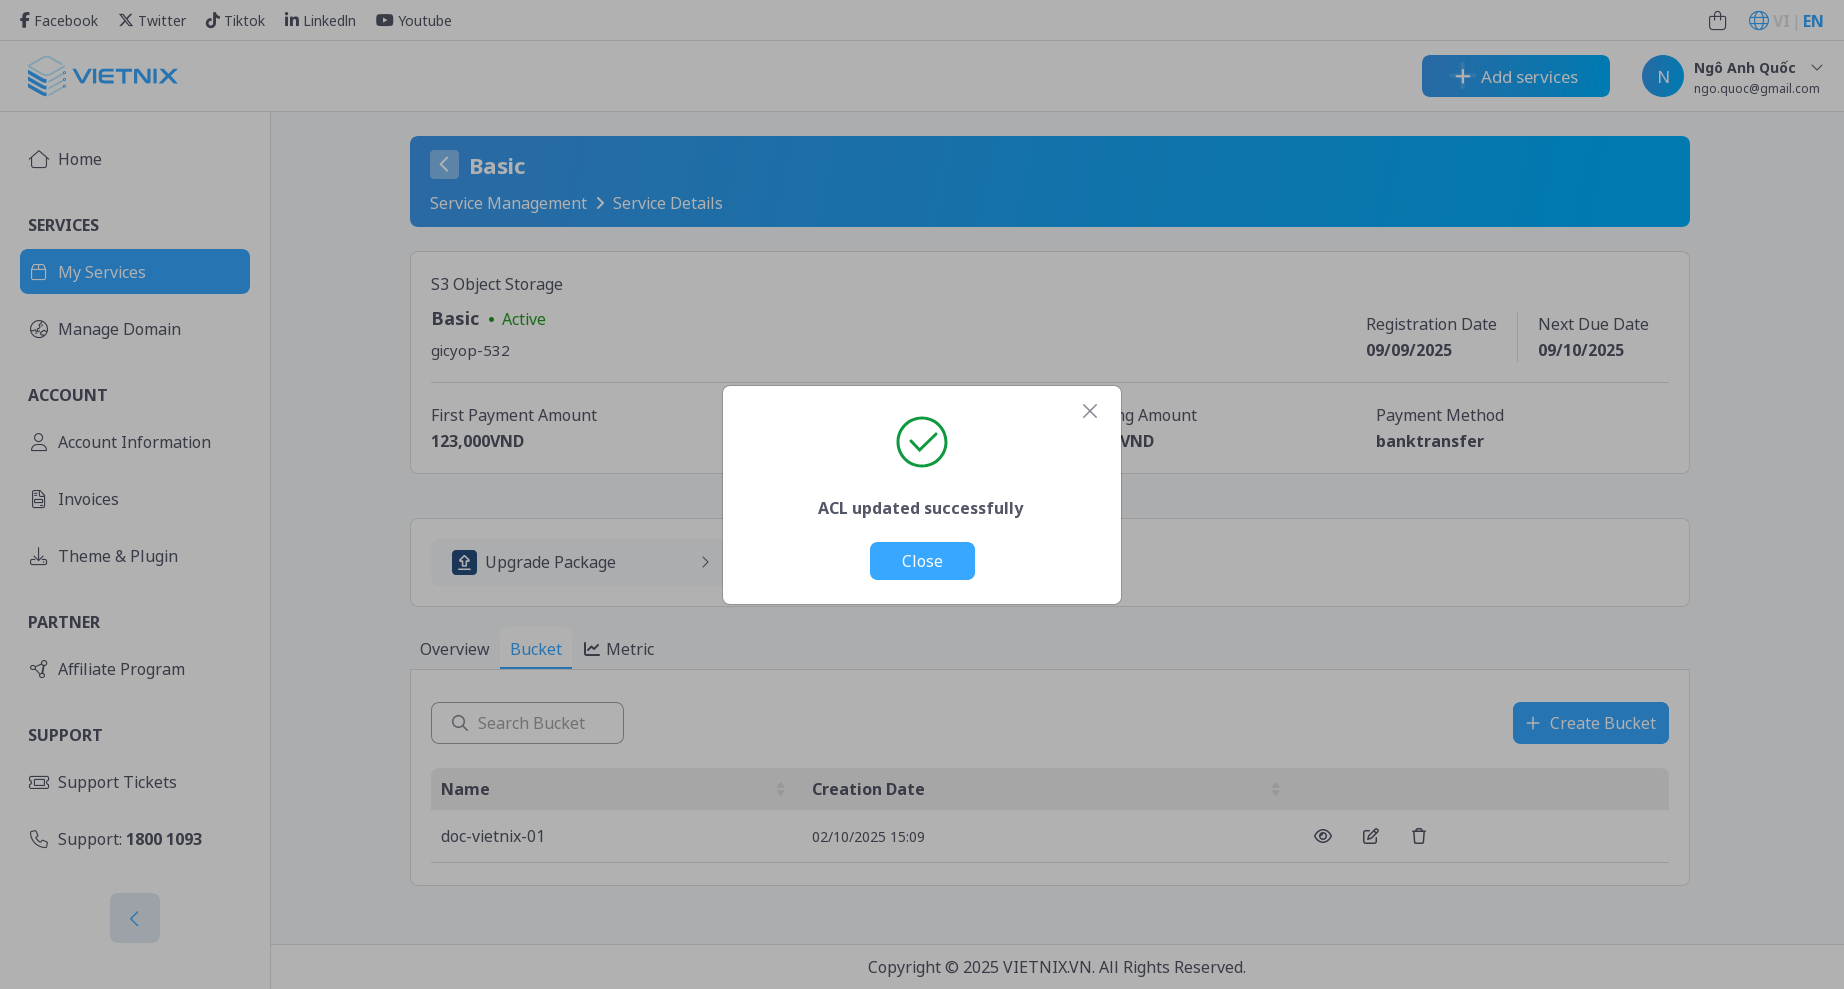
- Here you can select a new ACL from the dropdown menu and click Update.
4. Delete a Bucket
To delete a bucket, follow these steps:
- Click on the delete button next to the bucket you want to delete.
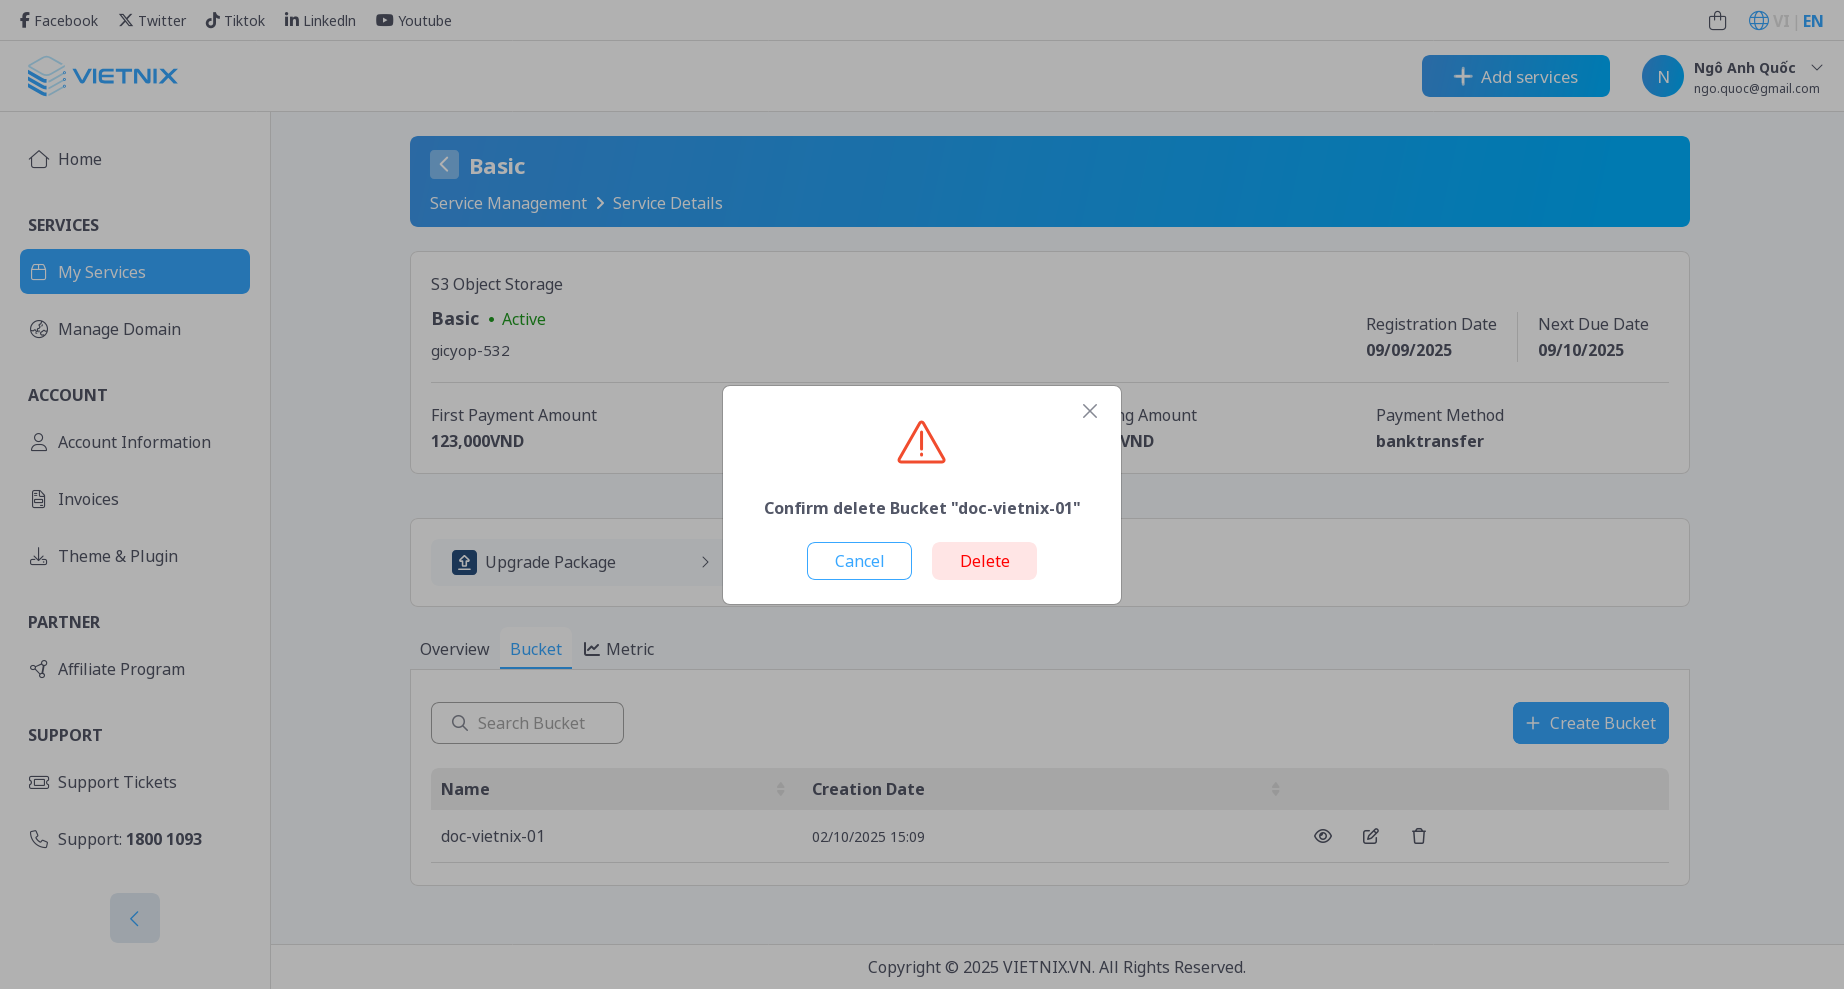
- Confirm the deletion in the popup dialog.

Deleting a bucket will also delete all objects within it. This action is irreversible. Make sure to back up any important data before proceeding.
- The bucket will be removed from the list.
5. What's Next?
- Manage Access Key: Learn how to manage access keys for S3.