Create Security Group
The following steps will guide you through the process of creating a Security Group in Vietnix Cloud
Before You Begin
- Ensure you have an active Vietnix Cloud account.
- You have the necessary permissions to create Security Groups.
- Plan your security rules in advance, including allowed IP addresses, protocols, and ports.
Steps to Create a Security Group
-
Log in to Vietnix Cloud Console:
- Open your web browser and navigate to the Vietnix Cloud Console.
- Enter your credentials to log in.
-
Navigate to the Security Groups Section:
- In the left-hand menu, click on "COMPUTE" and then select "Security Groups".
-
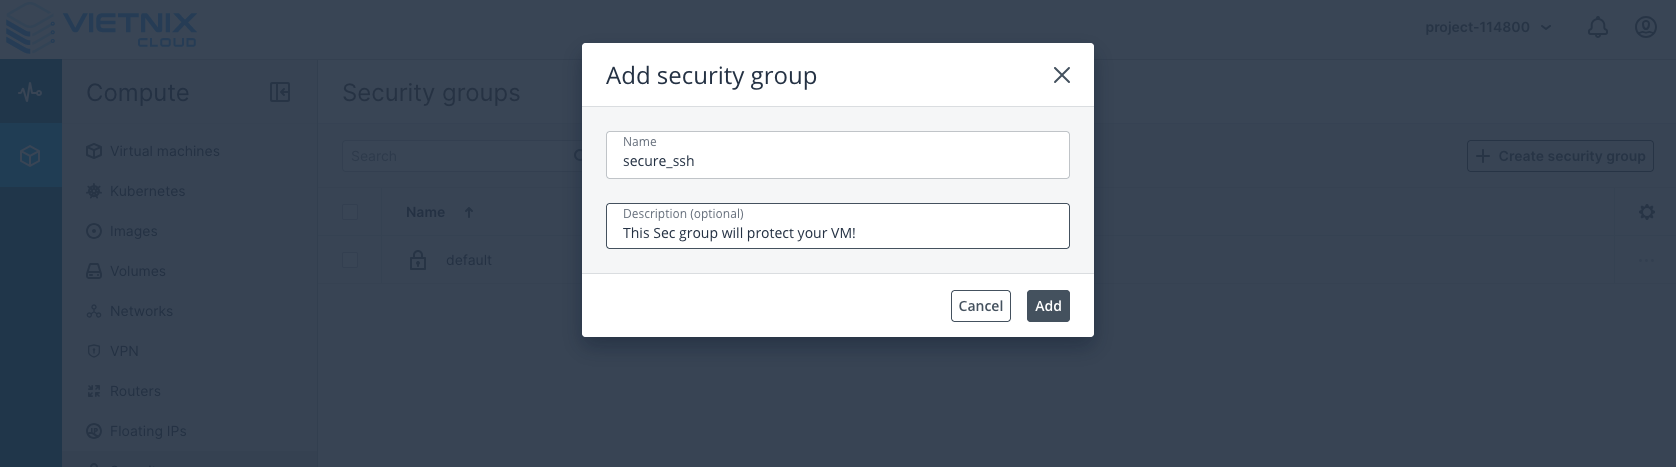
Create a New Security Group:
- Click the "Create Security Group" button.
- Enter a name and description for your Security Group.
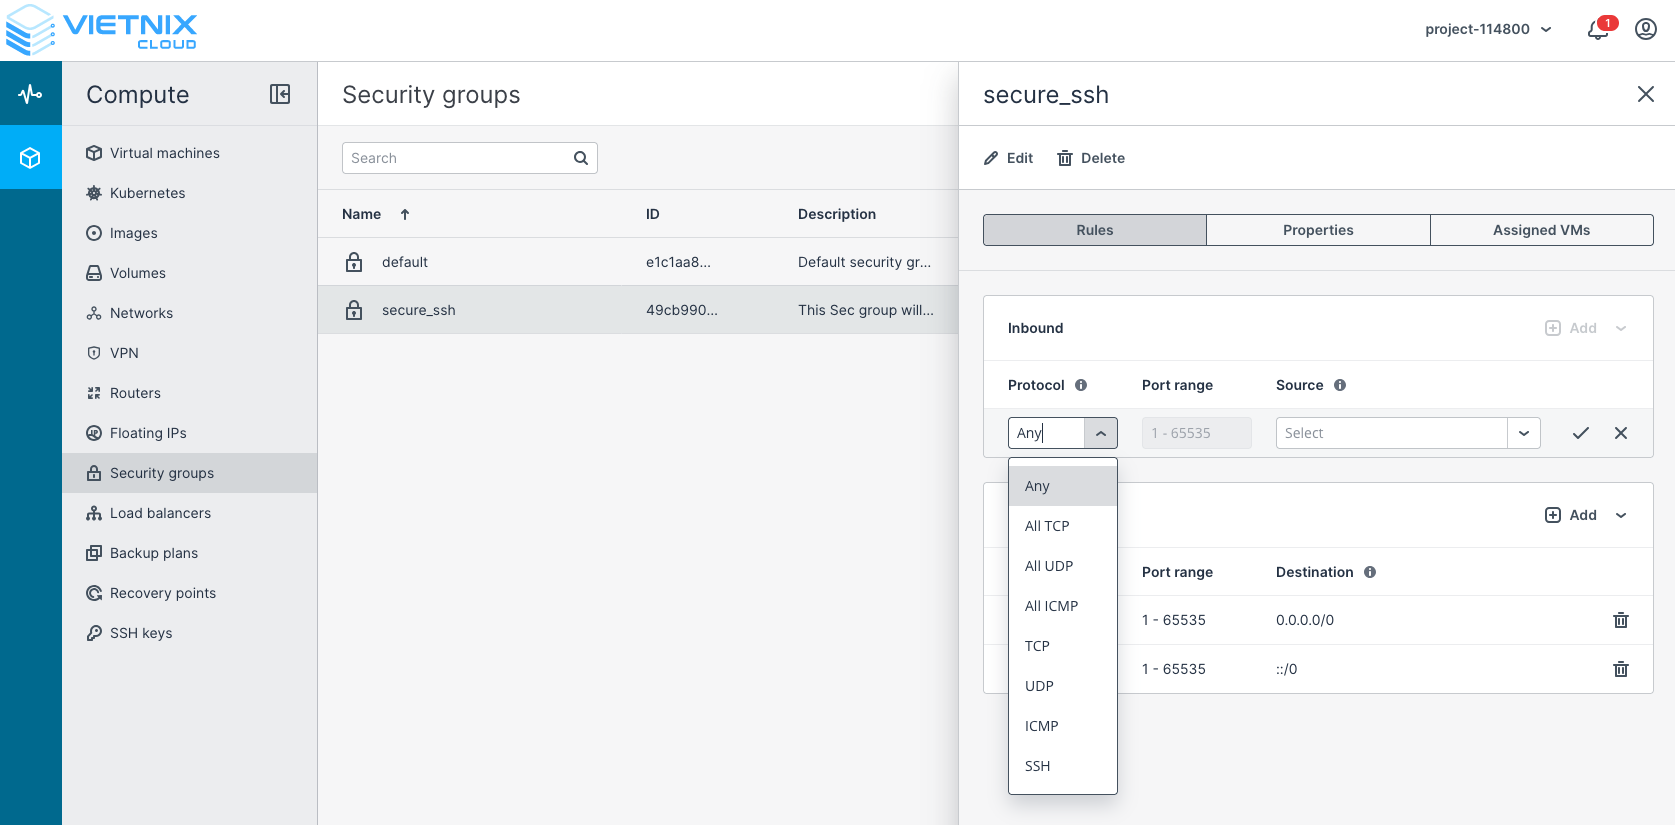
- Add rules to the Security Group:
- Click on the rule to define inbound and outbound rules.
- Click Rules -> "Add" to ađd a new rule for inbound or outbound traffic.
- Specify the following details for each rule:
- Protocol: Choose the protocol (e.g., TCP, UDP, ICMP).
- Port Range: Specify the port or range of ports (e.g., 22 for SSH, 80 for HTTP).
- Source: Define the source or destination (e.g., CIDR, Security Group).
- Click "Add" to save each rule.
warning
Note: Default Security Group allows all outbound traffic and denies all inbound traffic. You need to add rules to allow specific inbound traffic as per your requirements.
- Apply Security Group to Resources:
- After creating the Security Group, you can apply it to your virtual machines or other resources as needed.
Best Practices for Security Groups
- Regularly review and update your Security Group rules to ensure they meet your security requirements.
- Use descriptive names and descriptions for your Security Groups and rules to make management easier.
- Limit access to only necessary IP addresses and ports to minimize potential attack vectors.
- Monitor traffic and logs to detect any unusual activity.