Extend Volume
After creating a volume, you may need to extend its size to accommodate growing data needs. This guide will help you extend a volume in Vietnix Cloud.
Prerequisites
- A created-volume in Vietnix Cloud
- Have enough quota to extend the volume
Steps to Extend Volume
- Navigate to the Compute section and select Volumes.

- Find the volume you want to extend and click on it.
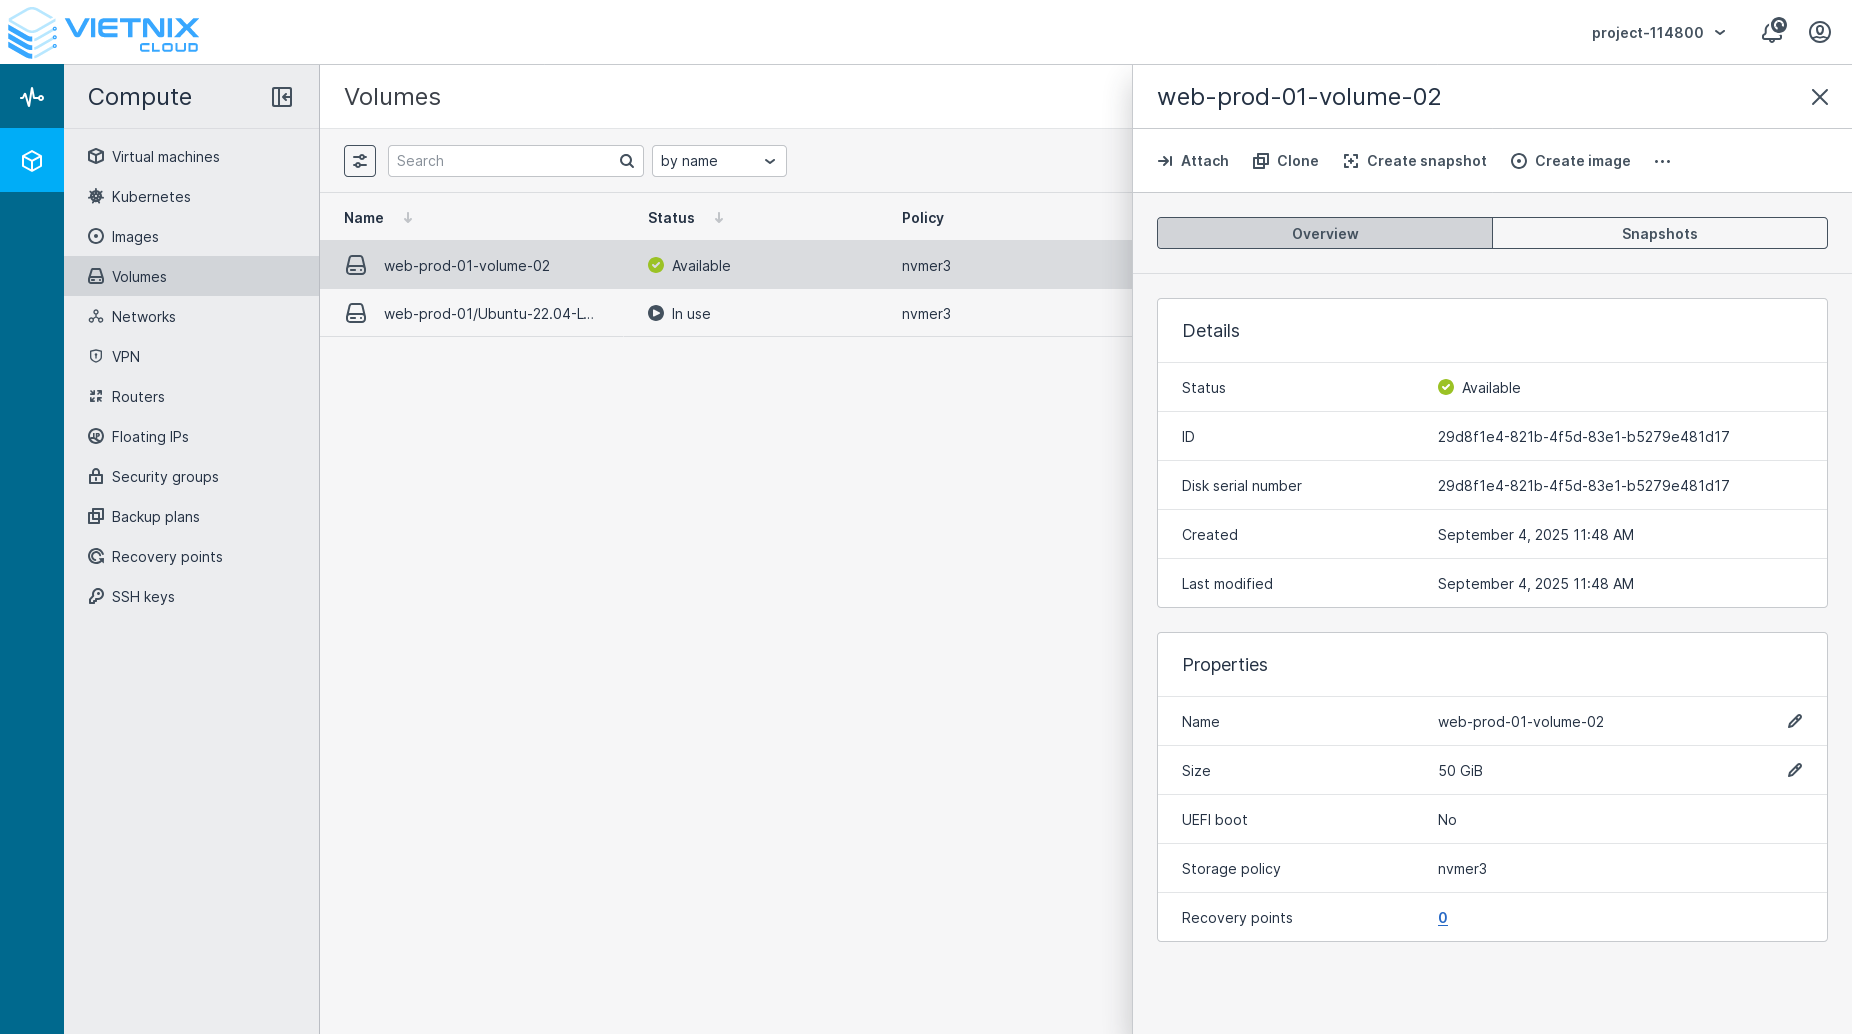
- At properties section, click the 🖊 icon at the Size field.
- In the Size field, enter the new size for the volume (e.g., 100GiB).
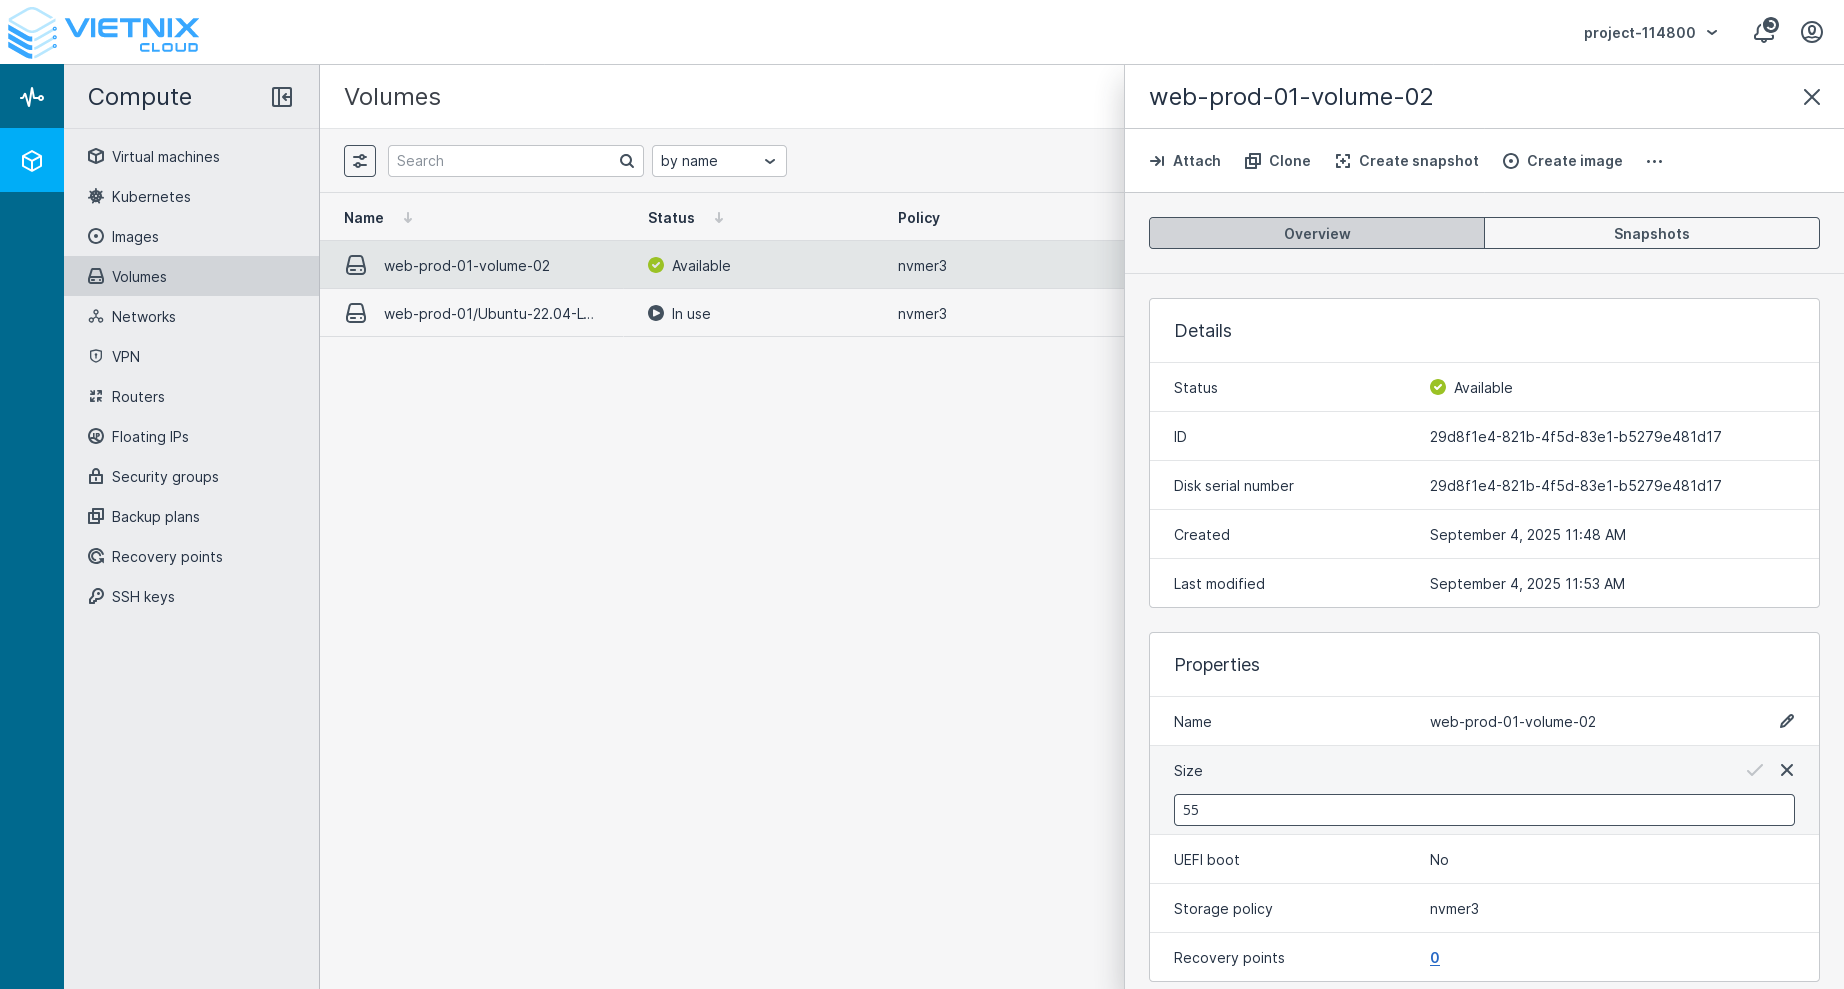
Note: Make sure the new size is larger than the current size.
- Click the ✔ button to apply the changes.
Extending a volume does not automatically resize the filesystem. After extending the volume, you need to resize the filesystem on your instance to utilize the new space.
After extending the volume, you may restart for auto allocation of the new size.
Resize Filesystem
After extending the volume, you need to resize the filesystem on your instance to utilize the new space. The steps to resize the filesystem depend on the operating system and filesystem type.
For Linux Instances
-
SSH into your instance.
-
Use the
lsblkcommand to list the block devices and identify the extended volumelsblk -
Use the
growpartcommand to extend the partition:sudo growpart /dev/sdX NReplace
/dev/sdXwith the actual device name of the volume andNwith the partition number. -
Use the appropriate command to resize the filesystem based on the filesystem type:
sudo resize2fs /dev/sdXReplace
/dev/sdXwith the actual device name of the extended volume and/mount/pointwith the actual mount point of the filesystem. -
Verify the new size using the
df -hcommand:df -h
For Windows Instances
- RDP into your Windows instance.
- Open the Disk Management tool by right-clicking on the Start button and selecting Disk Management.
- Locate the extended volume in the list of disks.
- Right-click on the volume and select Extend Volume.
- Follow the prompts in the Extend Volume Wizard to complete the process.
- Verify the new size in the Disk Management tool.
Related Resources
- Create Volume - Learn how to create a new volume in Vietnix Cloud
- Attach Volume - Learn how to attach a volume to a virtual machine
- Create Snapshot - Learn how to create a snapshot of a volume